Love this killer technique for creating points out of geometry based on their UVs as demonstrated in InSession by @Jarrett :
This is great - much love here for this approach… but I have some questions.
Geometry Type Limitations
This works successfully for me with both box and torus SOPs, but I’m stuck with a few strange results working with sphere SOPs. First up, when working with Mesh, Bezier, or Nurbs type I see a missing slice in the resulting render:
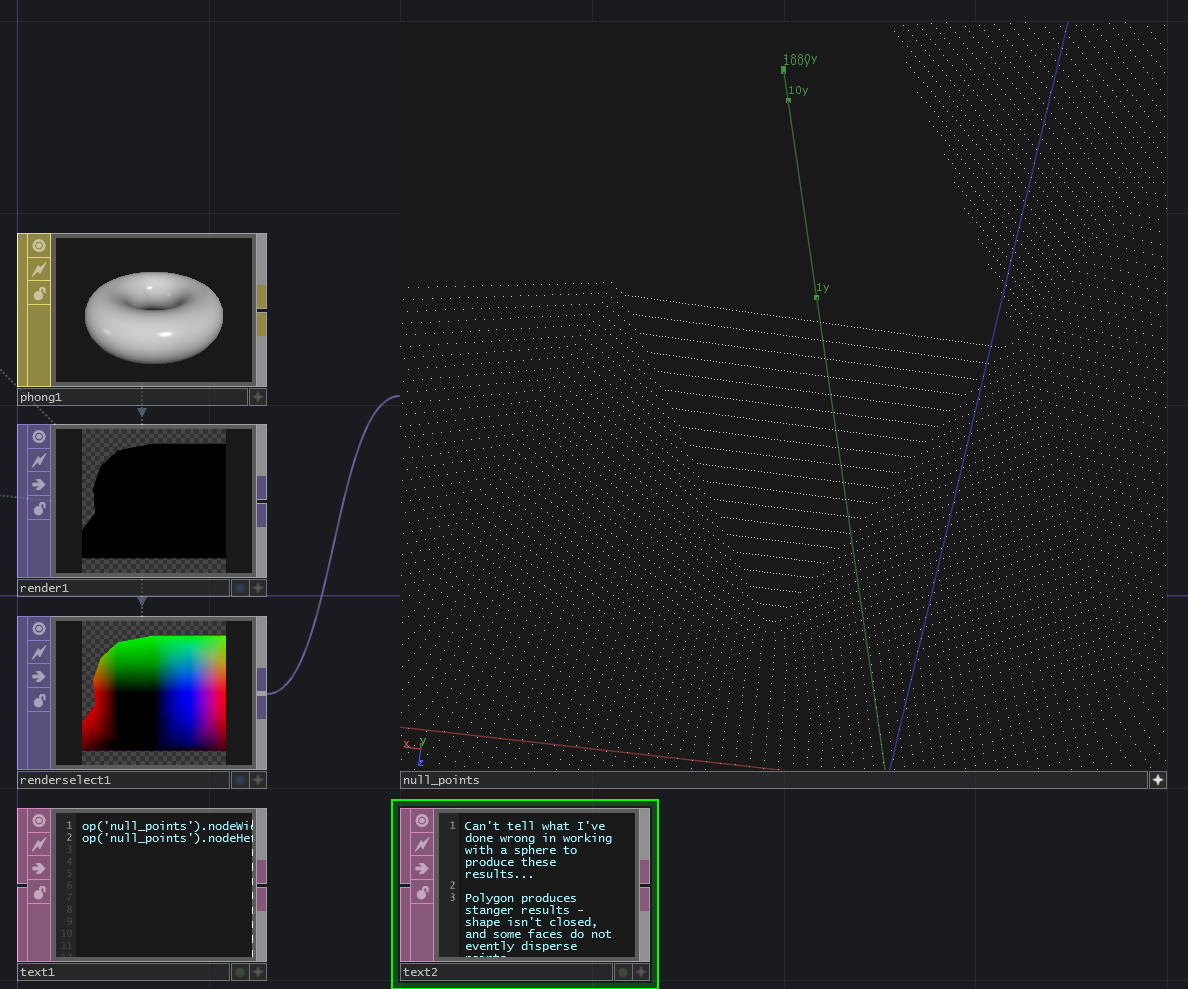
This presents slightly differently when working with a polygon:
It looks like there are both missing faces, and inconsistent behavior with some faces - where it looks like there are resulting points from rows, but not cols?
Multiple Pieces of Geometry
Another use case that seemed very exiting here would be to end up with a point cloud based on the UVs of multiple pieces of geometry. So far, I can’t seem to get this working. I can successfully get one SOP to work, but when the render flag for both SOPs is flipped I only see one geometry … even though the texture seems to display rendered points for both:
Attached is a toe file with all of these examples.
surface-pos.toe (6.5 KB)
I’d love a push to help me:
- understand what I did wrong with the Sphere SOP
- understand how to render surface points for multiple SOPs
So the core issue here is that to create geometry that works well with UV Unwrap it needs to be somewhat precisely made. The auto-generated UVs that SOPs create don’t lend themselves well to that. Basically you need your UVs to stay within the 0-1 range, and to fill up the full render they need to have edges that match up exactly with the 0-1 UV space edges. Also no polygons should reach across those boundaries (start at 0.9 and end at 1.1, for example). The polygons that are missing are either reaching across the UV boundary and so aren’t rendered correctly, or aren’t in the UV range at all. For example primitive 55 in your polygon Sphere SOP example has U value ranging from 1->1.13.
The only way to render multiple SOPs at the same time would be to ensure none of their UVs overlap. That way you can squeeze mutliple SOPs into the same 2D frame. You can use the Texture SOP to scale/translate around your UVs to do this. Right now you have their UVs overlapping so they are trying to write to the same pixels
Thanks @malcolm that’s really helpful context here for how to use this technique. I’m going to simmer on a few of these ideas and think through how I can better use this kind of approach 
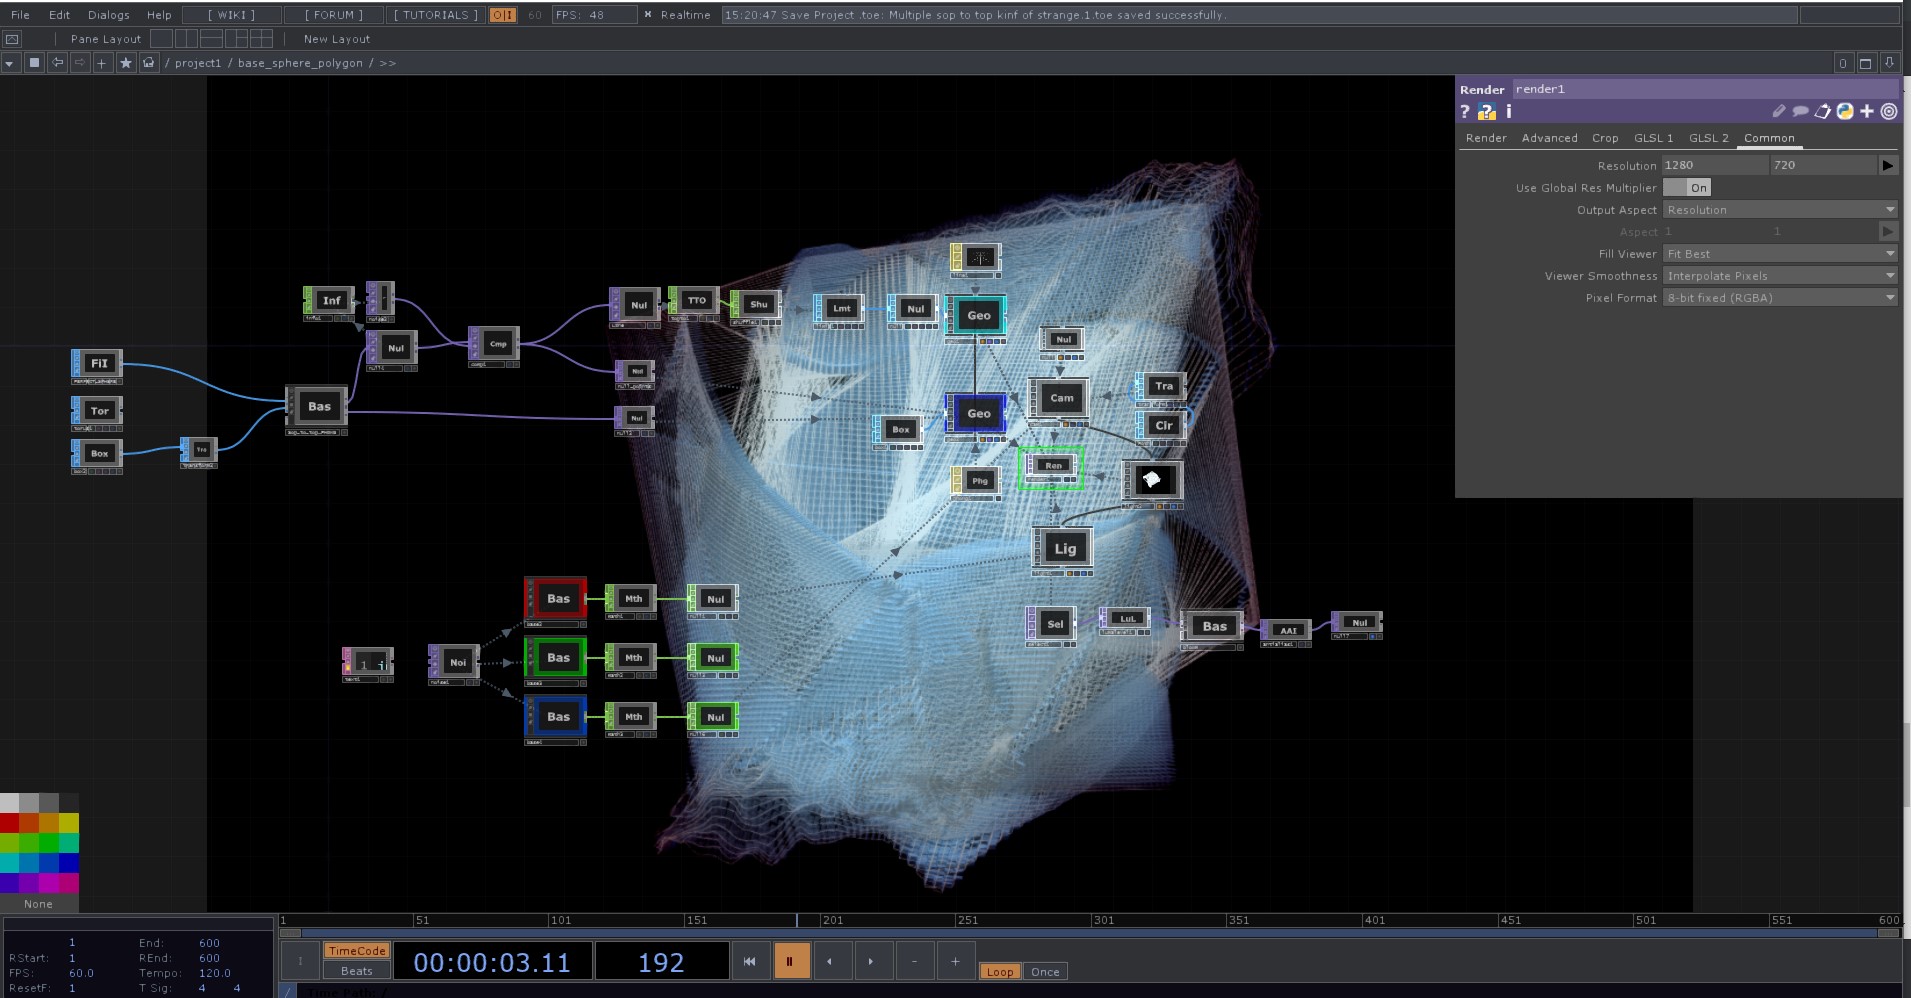
Multiple sop to top kinf of strange.1.toe (15.3 KB)
So here i ve got 2 sop in the same time. Result is starange but looks good . This is what i ve noticed : everything belong to the purlpe flag (dislplay ?). I ve got only 2 so working at the same time… more is like flatting all. To actually run the project you need a perfect sphere, do not ask why but only with a perfect sphere as input you can add object.
. i can not upload it here, but i guess you can make one you own!
here is what i could do with a 1650 and a laptop : UV SOPpack - YouTube 25 fps real time in full hd.
Update 06.04 : Use multiple geo to add object!! I had 3 object running but they start to be cutted. Obj files need to have embedded the UV if not the unwrap will not work. Also how are you smashing those UV make difference… I try from C4D and Blender, it works but the result is missing some pieces. Other random Objs work fine with no specific reason ( i mean i could not understand it). You can add UV in TD (texture sop) but the result is not god at all. Than i’ve noticed that after a bunch of hours using a patch with this technique the tab menu is flickering. Other friend of mine had this issue too, working with color buffers. Hope someone can post here some more info about this technique. Point cloud never been so easy to use!
1 Like